
You’ve just installed SolidConnect and have activated your trial or tokens, what’s next?
Whether you have loaded custom settings or want to start with the defaults, let's review the basics of SolidConnect in a few steps.
Let’s get started
-
Start Solid Edge and open a small assembly file. SolidConnect always loads the currently active file
-
Start SolidConnect. If it does not start to load automatically, press the load button

Visualization
You should now see something like this:
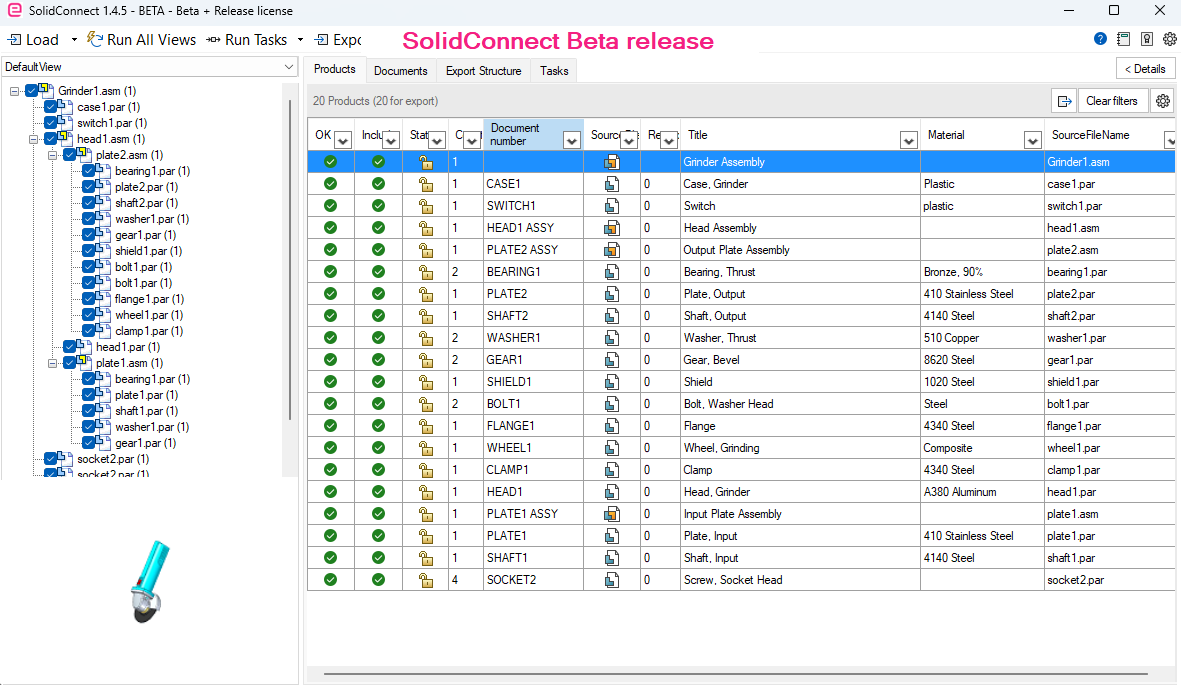
SolidConnect now shows everything it has loaded from SolidEdge as Products and documents
-
In the tree view on the left you can see all occurrences, just like in the pathfinder of SolidEdge
-
On the Products tab, all unique products are shown with their properties
-
On the Documents tab, all files related to the products are collected. SolidConnect might have already found a related drafts in the same folder.
-
At the bottom left, a preview is shown of the selected Product
-
On the top right you can open the details panel, here you see all properties and related documents of the selected Product
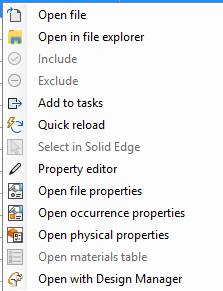
You can right-click any product to do a variety of actions:
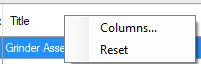
You can move or resize columns as usual. To edit visible columns in the Products table, right-click the header row and click Columns. If you are missing properties, we will explain how to configure this later.
Documents
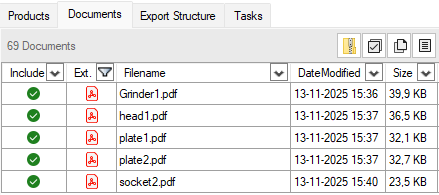
On the documents tab, all load files and all related files that SolidConnect has found are shown in one list, this allows you to easily gather existing documents together. For example you can filter all pdf files as shown above. Then you can easily create a zip or copy all files with the buttons at the top of the tab 
Run tasks
A task is an action performed on Solid Edge documents within SolidConnect that can be performed in bulk. Tasks can include creating derived files such as pdf/stp, property updates, and more.
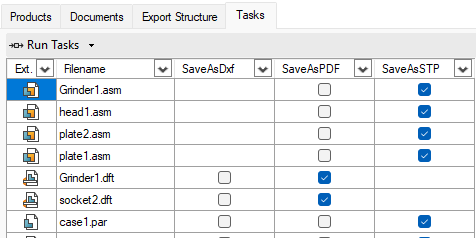
On the Tasks tab, you should already see some files with tasks. You can choose what tasks to perform with the checkboxes, you can select multiple cells and press space to toggle many at once. When you’re happy with your selection, just click Run Tasks and SolidConnect will use SolidEdge to perform all tasks. These files such as PDF are saved to the same folder as the SE file by default.
Export
Once all data are loaded and validated, click on the export button to export it. You can click the popup to go directly to the exported file. Everything from the export location and format (XML or CSV) is configured in export settings.
Run all views
The ‘Run all views’ button allows for advanced automation of different tasks and exports. It is recommended to first configure exports and tasks before working with multiple views. Read more about views
Settings
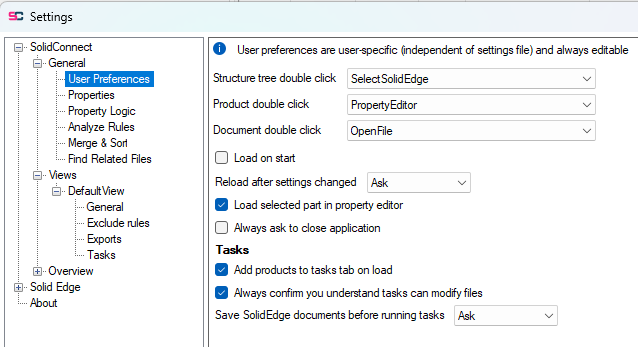
To go to settings, press the 
Read First Configuration for a short guide to the first steps in the settings.